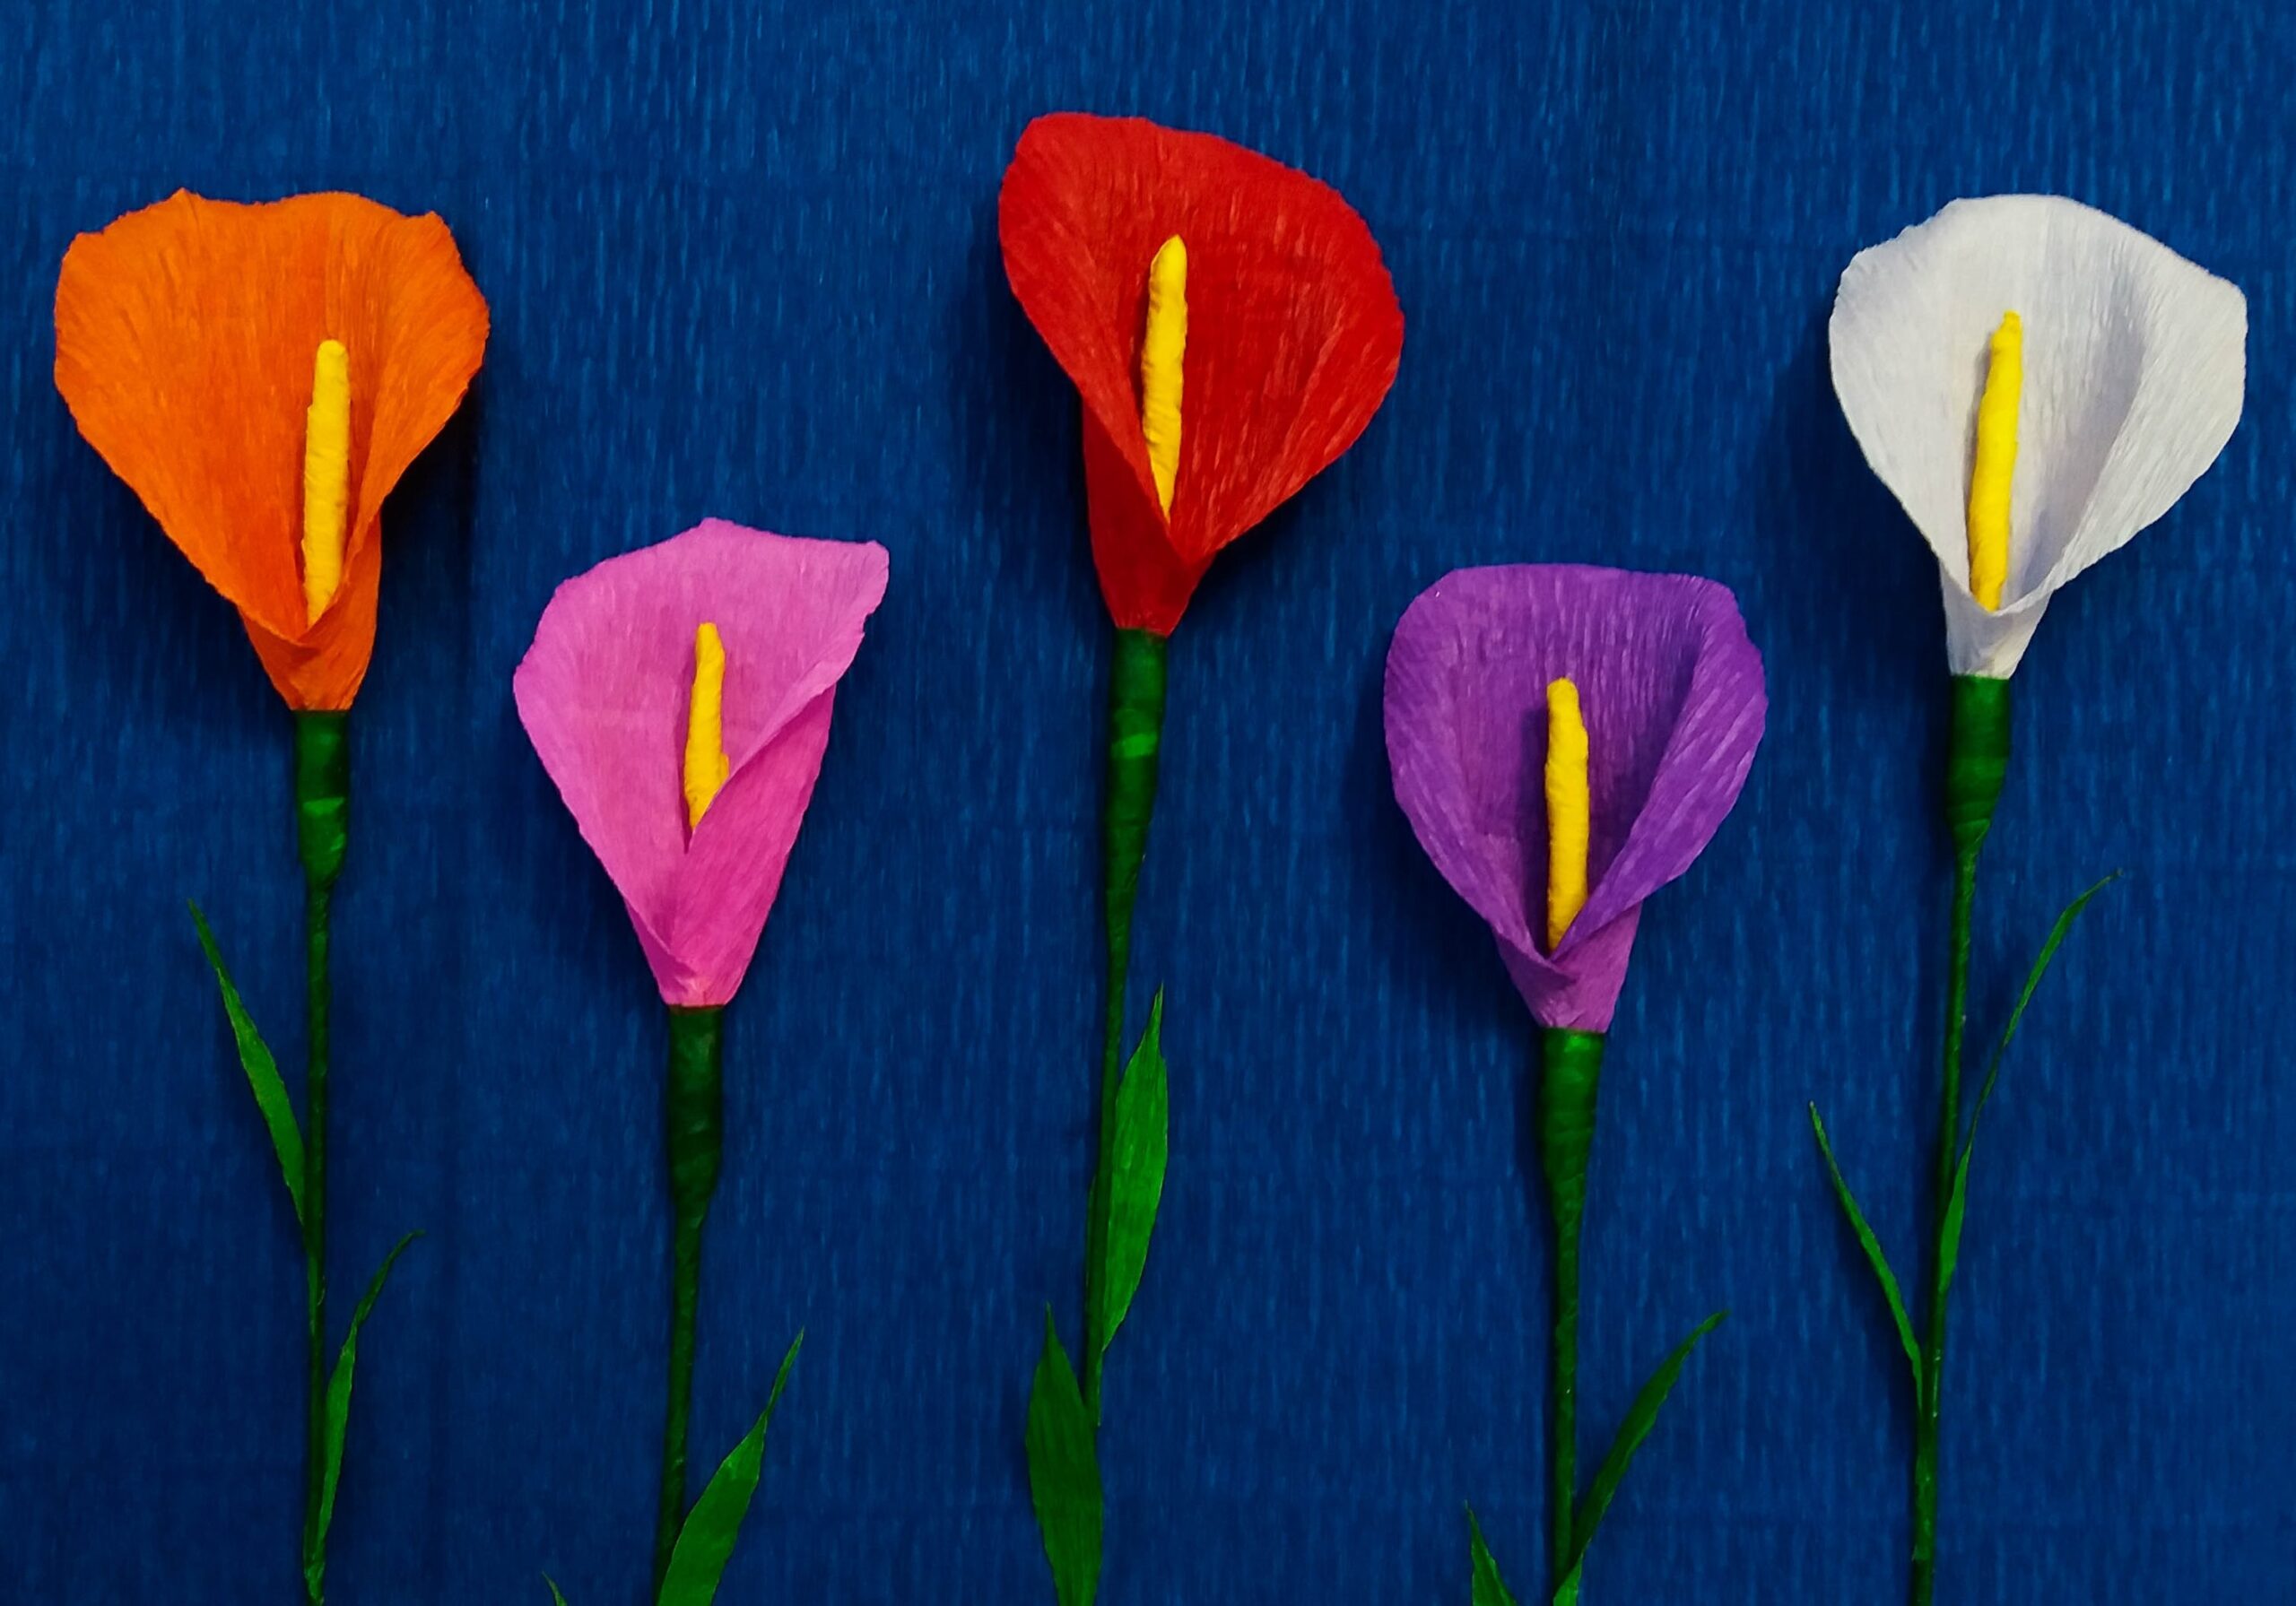
The Basics of Making a Paper Flower
Making paper flowers is a fun and rewarding craft that can be used for a variety of purposes, from home decor to gift embellishments. Here are the basic steps to make a simple paper flower:
Materials Needed:
- Coloured Paper or Cardstock
- Scissors
- Glue or Hot Glue Gun
- Pencil
- Ruler
Steps:
- Prepare Your Paper: Choose the colour of paper you want for your flower. You can use a single colour or mix and match different colours for a more vibrant look.
- Cut the Petals: Draw and cut out petal shapes from your paper. The size and shape of the petals will determine the look of your flower. For a simple flower, you can make the petals oval-shaped. You’ll need multiple petals for each flower – around 5-8 is a good starting point.
- Shape the Petals: To give the petals a more realistic look, you can curl the edges. Simply use a pencil or the edge of a scissor to curl the paper.
- Create the Flower Center: Cut out a circle from a different colour of paper. This will serve as the centre of your flower. You can also add details like fringes to the centre for added texture.
- Assemble the Flower: Start by glueing the petals to the flower centre. Begin with one petal, applying glue to the bottom and sticking it to the centre. Continue this process, layering the petals around the centre until you’re satisfied with the look of your flower.
- Add Finishing Touches: You can add additional details like a stem (using a green pipe cleaner or a piece of paper rolled into a tube), leaves, or additional layers of petals.
Remember, the beauty of paper flowers is that they can be as simple or as complex as you want them to be. Feel free to experiment with different types of paper, petal shapes, and colors to create a variety of flowers.
Photo by Kelly Sikkema on Unsplash