What are the Basics of Soapmaking
Soap making is a rewarding craft that allows you to create custom, handmade soaps. Here are the basics of soap making as a home craft:
- Safety Precautions: Soap making involves working with lye (sodium hydroxide), which is a caustic substance. Take necessary safety precautions by wearing gloves, protective eyewear, and working in a well-ventilated area. Keep children and pets away from the workspace.
- Ingredients and Equipment: Gather the necessary ingredients and equipment, including lye, oils or fats (such as coconut oil, olive oil, or shea butter), water or liquid (such as milk or herbal tea), fragrance or essential oils, colourants (optional), a heat-resistant container, a stainless steel or heat-resistant plastic mixing spoon, a kitchen scale, a thermometer, soap moulds, and parchment paper or plastic wrap.
- Recipe and Measurements: Choose a soap recipe that suits your preferences and needs. Recipes typically provide ingredient measurements in weight (grams or ounces) rather than volume. Use a kitchen scale to accurately measure the ingredients as per the recipe.
- Lye Solution: Carefully add the lye to water or liquid, following the instructions and safety guidelines provided with the lye. Stir gently until the lye dissolves completely. Be cautious, as the lye solution will generate heat and emit fumes. Allow the solution to cool to the desired temperature (usually around 100-120°F or 38-49°C).
- Oils and Fats: Melt or warm the oils and fats to a suitable temperature, typically around the same range as the lye solution. Use a double boiler or a microwave in short bursts, stirring occasionally. Ensure that the oils and fats are completely melted and free of any solid particles.
- Mixing: Slowly pour the lye solution into the melted oils and fats. Use a stainless steel or heat-resistant plastic spoon to stir the mixture in one direction until it reaches a light trace. This is when the mixture thickens slightly and leaves a faint trail when dripped from the spoon. Stir in fragrance or essential oils and any desired colourants.
- Moulding: Pour the soap mixture into soap moulds. Tap the moulds gently on a flat surface to eliminate any air bubbles. Smooth the surface with the back of a spoon or a spatula.
- Curing: Cover the soap moulds with parchment paper or plastic wrap to insulate them. Place the moulds in a cool, dry area away from direct sunlight. Allow the soap to cure for about 4-6 weeks, during which time it will harden and the lye will complete the saponification process.
- Unmolding and Cutting: After the curing period, gently remove the soap from the moulds. If necessary, trim the edges and cut the soap into desired shapes or bars using a sharp knife or a soap cutter. Allow the cut soap to cure further by placing it on a drying rack for a few more days to enhance hardness.
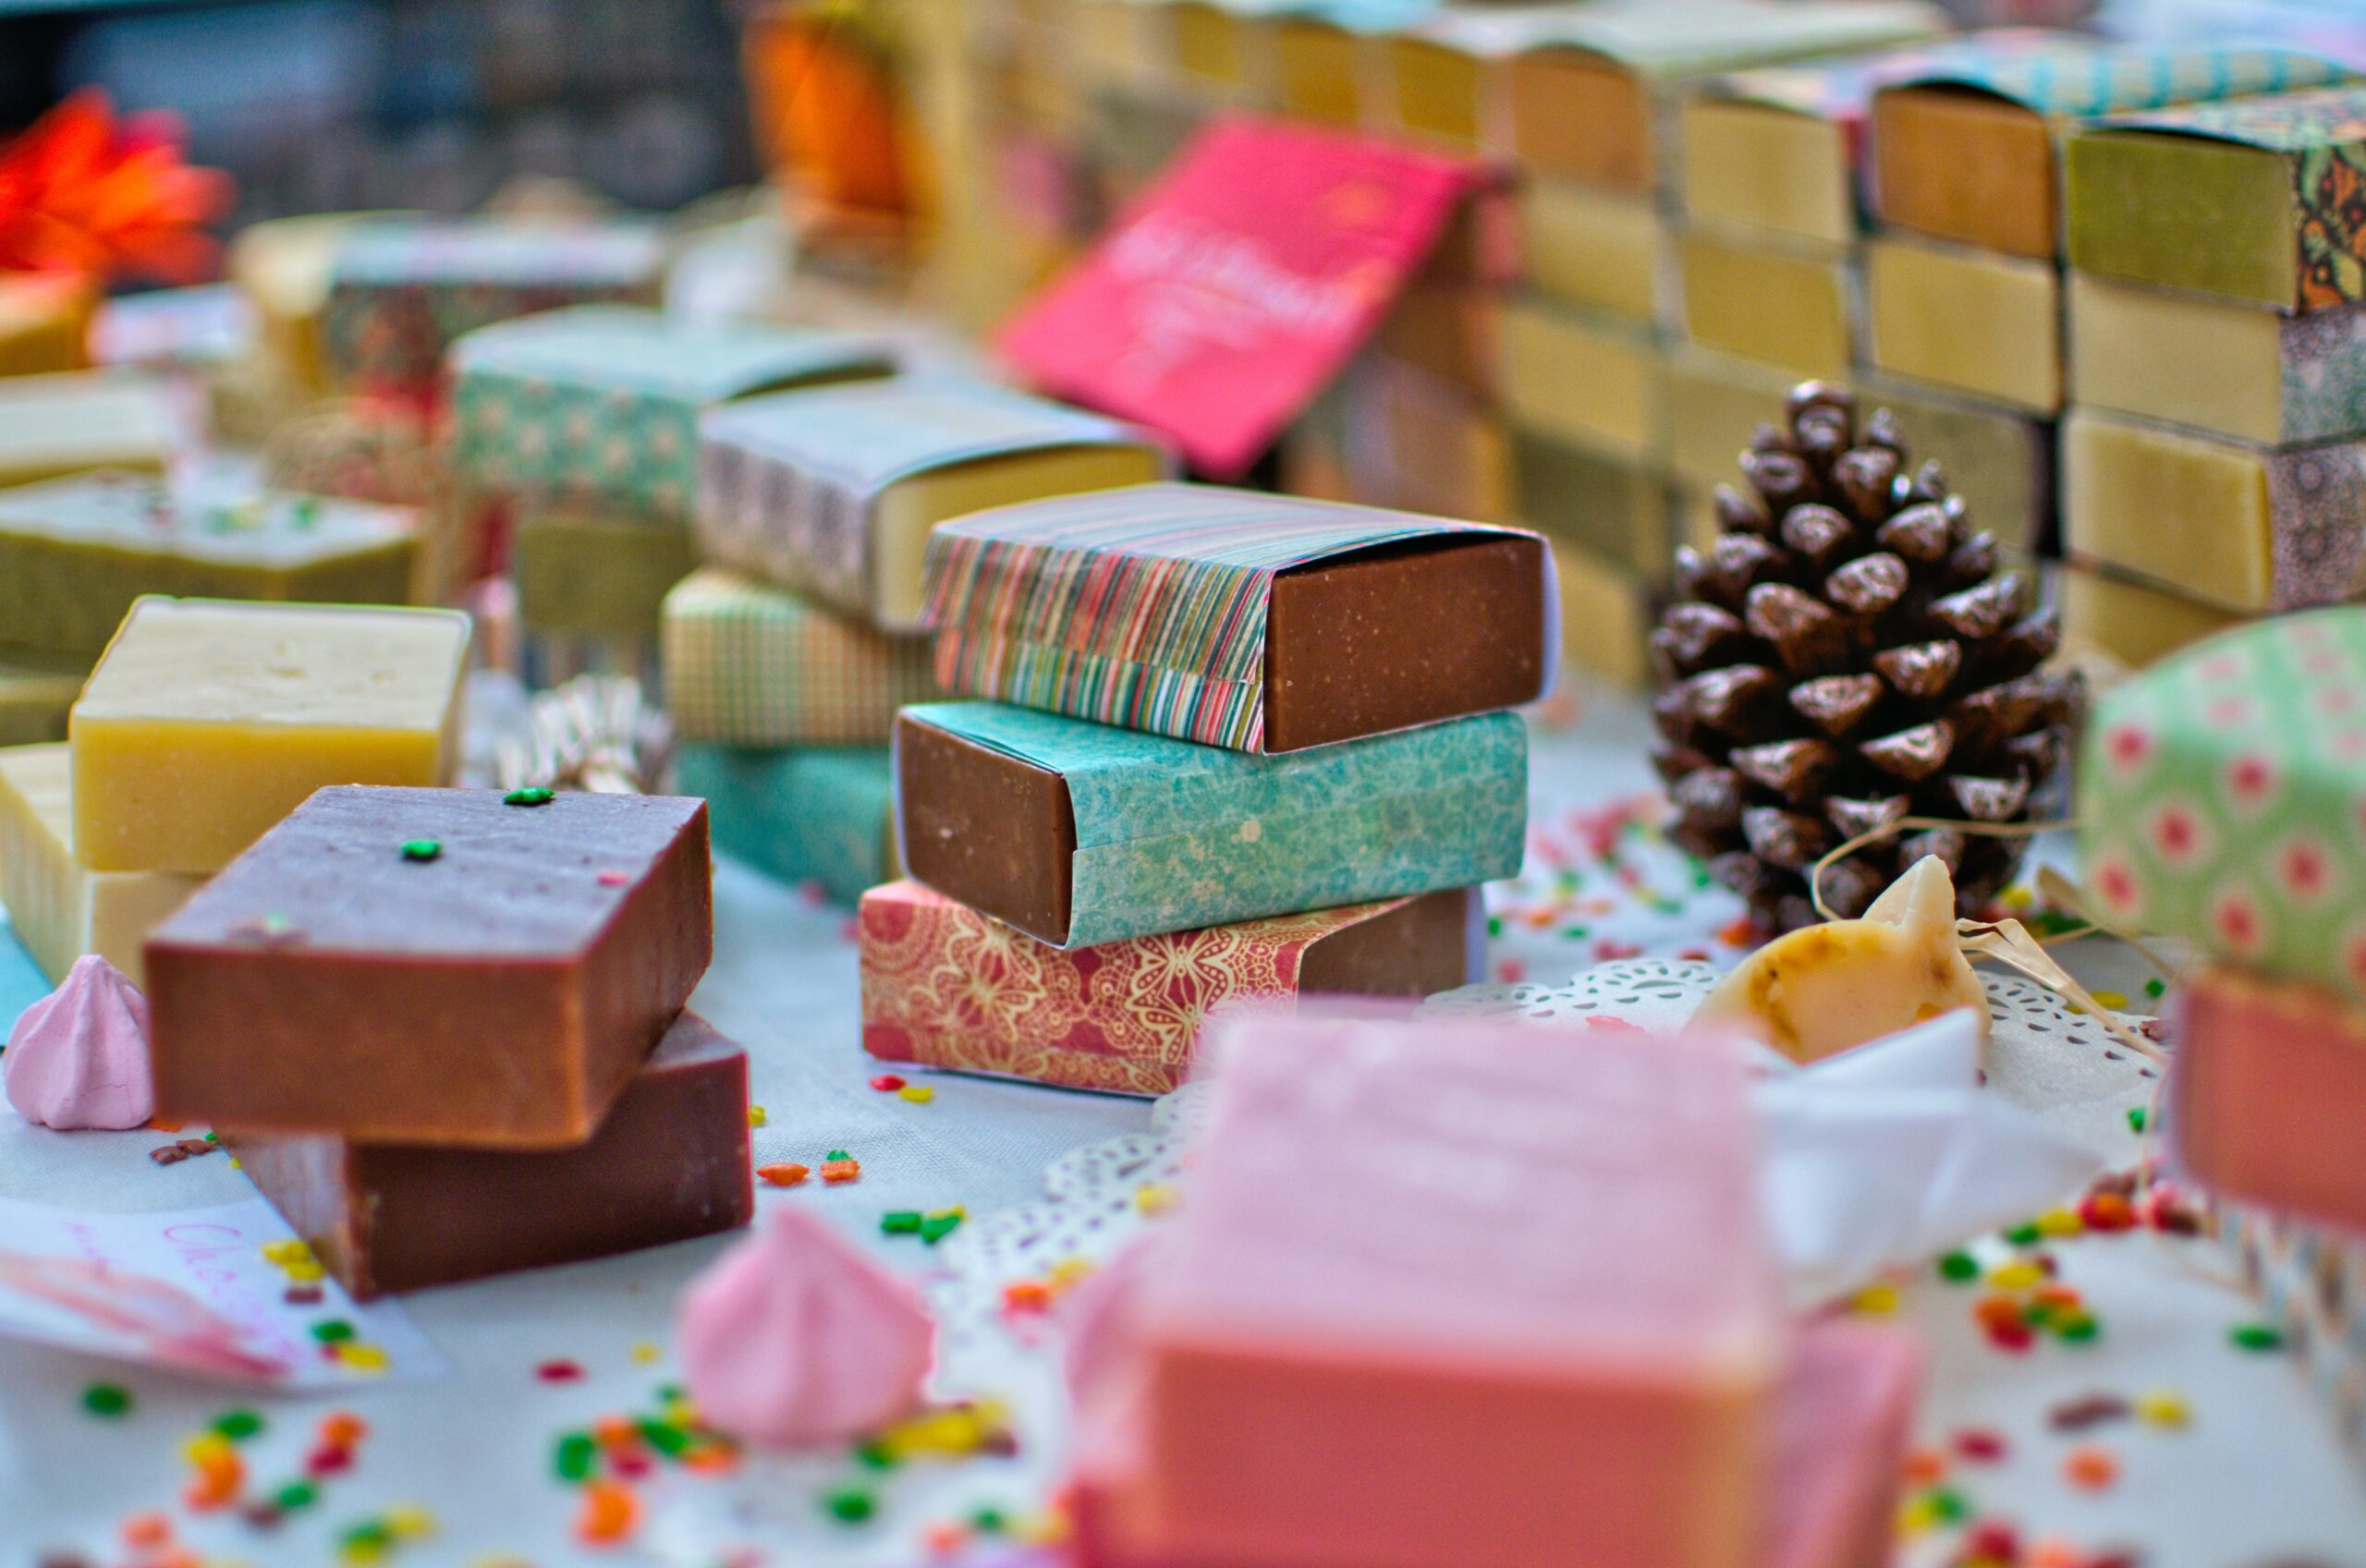
- Labelling and Storage: Once the soap has fully cured, label each bar with its name, ingredients, and date of production. Store the cured soap in a cool, dry place or wrap it in breathable packaging, such as wax paper or tissue paper, to maintain its quality.
Remember to always follow soap-making instructions and safety guidelines carefully. As you gain experience, you can experiment with different oils, additives, fragrances, and designs to create unique and personalized soaps.